Uses of Hardness Testing for Quality Assurance

The means to assess strength and durability is an essential element of quality control. The hardness test is possibly one of the most critical of all measurements of a material’s properties, and there are a variety of tests in common use.
Such testing is generally carried out by the action of a loaded object of a specific dimension (an indenter, ball or cone) being forced into the surface of a material over a specific period of time. The test results are determined by either measuring the size of the impression left or the depth of penetration.
There are multiple different types of hardness test. Some of the most commonly used are:
- The Rockwell Test
- The Vickers Test
- The Brinell Test
Depending on the material to be measured, a combination of different tests might be required. The microstructure of the material, size of the part to be measured and its condition are also factors to take into consideration.
- The Rockwell Test
Generally used for measuring the hardness of metals and ceramics, it can also be used to test plastics. The calculations are taken from the depth of the impression made by the indenter. This is widely regarded to be one of the fastest methods of testing hardness and is generally used for materials of larger geometries.
- The Vickers Test
This can be used on a variety of materials, including metals, polymers, ceramics and some bio-materials. It uses a diamond shaped indenter and the calculations are determined by the diagonal lengths of the indents made. This form of testing also includes a sub-group that can be utilised to test the hardness of welds.
- The Brinell Test
Because this test leaves a relatively large impression from a tungsten carbide ball it’s better suited for testing large structures, such as castings and forgings.
Challenges surrounding hardness testing
The various manufacturing and ongoing quality control processes that utilise hardness testing have to overcome many challenges, such as user fatigue when operating non-automated systems. There are also issues around accurate measuring of welded areas, those that are subjected to intense heat and that of the increasing use of bio materials.
For example, flexible pipes used within the off shore oil industry are subjected to immense stresses and have multiple welds. The need for the most effective hardness testing is paramount, and companies continue to invest into innovative methods by which testing can be simplified, more accurate and be carried out in the shortest amount of time possible.
Automated, intuitive systems using the latest technology are key to overcoming such hurdles. Removing the human element, and the associated risk of error and inconsistencies that inevitable go hand in hand, leads to precise sample positioning, a high level of repeatability and increased accuracy, as well as dramatically reducing testing time. Naturally, this leads to reduced costs and increased competitiveness within the market.
Portable hardness testing
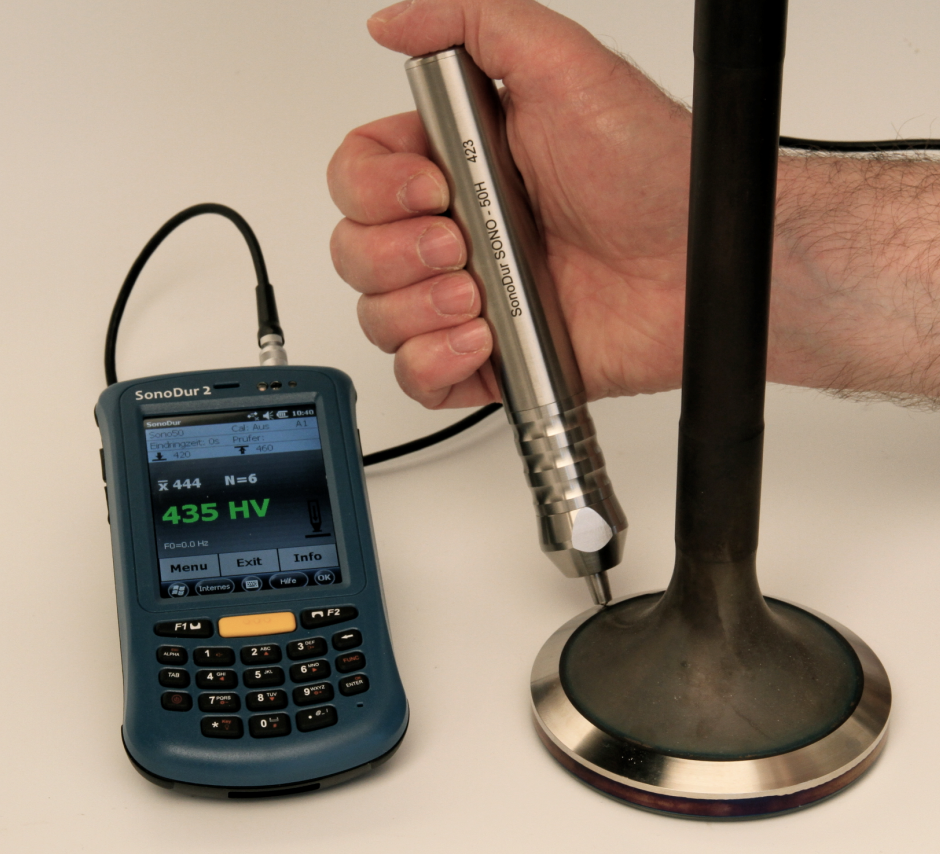
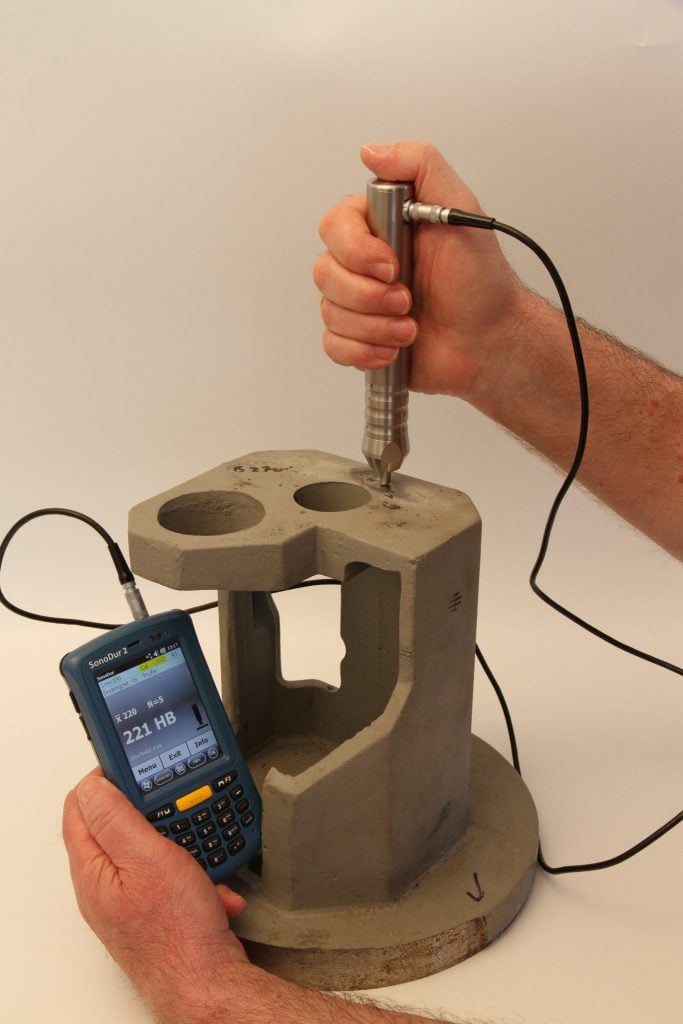
When it comes to hardness testing on site, a variety of portable equipment is on offer. These compact units allow for easy testing of coat hardness, welds, post-heat treatment and more. The key to getting the best results from a portable hardness testing device is to ensure the right type of tester is used.
Most portable machines measure hardness using either the Rockwell Test, Ultrasonic Contact Impedance (UCI) or Rebound Testing.
- UCI uses ultrasonic frequency to determine the hardness of the material being tested
- Rebound Testing (sometimes called Leeb Testing) uses the velocity of the indenter just before impact and its rebound speed to give hardness data.
For solid parts all three methods are generally suitable to use. Welds are best measured using UCI or Rockwell Testing. Cast alloys of steel and aluminium are well suited to rebound testing, although in some cases the other two can be used.
As with static testers, portables are also the subject of much advancement. Technology continues to advance and with it the development of more cost effective and accurate equipment enters the market.
Equipment provider, Nexxis, is committed to providing cutting edge choices to its global spread of customers. Thanks to a combination of personal industry expertise and a solutions-driven business model, Nexxis works with customers to determine the provision of flexible equipment options that are engineered for adaptability, efficiency and driven by the latest, proven technology.
Solutions such as long term leases, short term rents, rent-to-buy, financing and purchasing are all part of this innovative approach. From NDT equipment, including hardness testers, to inspection cameras, mechanical tooling and measurement equipment, the Nexxis approach is all about working with customers’ needs to ensure the most simple and cost effective outcome. Get in touch to find out more.

