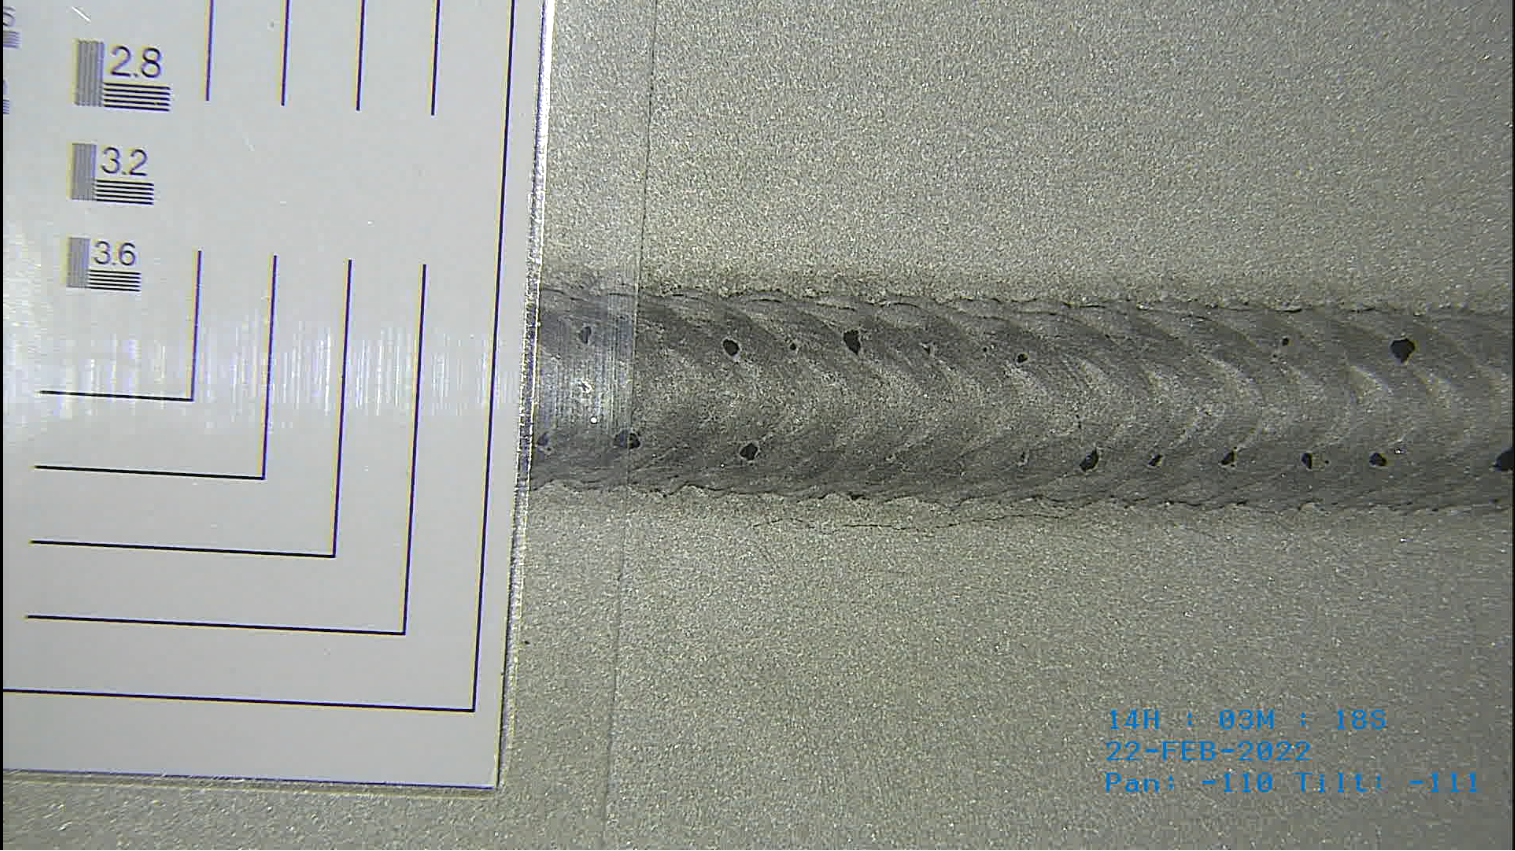
Upgrading Weld Inspection Methods with Technology

While visual inspections continue to be the mainstay of weld maintenance and repair, technology is fast improving efficiency. Manual investigations have a number of drawbacks, including:
- Can be a lengthy process: Slows production lines. Assets often need to be closed down and made safe for human entrance.
- Human risk: Often requires working from height, entry into confined spaces, and non-oxygen atmospheres.
- Expensive: Asset downtime impacts productivity and affects the bottom line.
- Human error: Results are wholly dependent on the accuracy of the manual inspection Errors are commonly returned. Even the most talented of inspectors won’t be able to catch 100% of defects.
Automating weld inspection by using one or more of a variety of proven methods – plus advanced tech, such as the latest crawlers, robots, and drones – is key to reducing or removing historical challenges.
By utilising a range of the following processes, weld inspection accuracy can be automated and dramatically improved. In turn, this increases the integrity of assets, the MTBF and allows maintenance teams to streamline necessary repairs.
Automating a Combination of Methods
While some testing methods will still require manual operation, the use of semi-autonomous equipment to deliver the process to the desired location has now come to fruition. Decades of trials, testing, and tweaking now mean that there are solutions that have a high enough payload and manoeuvrability to access even the most complex locations. Such apparatus can carry a variety of NDT testing equipment to perform tasks.
- Ultrasound inspection: UT works by passing a sound beam through the weld, with anomalies within its integrity being determined by deviation of the wave. Pros: Easily automated and can be delivered remotely. Very cost-effective. Will highlight defects beneath the surface in many different types of weld joints. Cons: doesn’t work for surface defects and requires trained operators.
- X-ray inspection: Uses X and gamma rays to return photographic records of the health of the weld. Pros: Good for surface and sub-surface defects. Effective on a wide variety of weld joints Can be carried out remotely. Cons: Requires qualified operators, can be a slow process, only returns 2-D images.
- Magnetic particle inspection: Sends a magnetic flux through the weld. This shifts when it passes a defect, causing the magnetic particles to gather at the surface. Pros: can be used in wet and dry conditions, excellent results for surface defects, good for a wide variety of weld joints: Cons: More sensitive to smaller defects, needs qualified operators, slow process.
- Dye penetrant inspection: Uses both fluorescent and/or visible dye to showcase tiny surface cracks and pinholes. Pros: effective for surface defects, low cost, and suitable for many different weld joints. Cons: won’t determine sub-surface defects, requires qualified operators, slow process.
Who Needs Accurate Weld Inspection?
Accurate weld inspection is necessary for so many industries. From Automotive Manufacturing to Oil & Gas, the requirements for automation are bespoke to the assets in use. This could mean using the latest advancements to determine defects in truck frames, quality control on an assembly line, the inspection of weld integrity deep with a gas pipe… The list is endless.
The one thing they all have in common is a need for efficiency, reliability, speed, accuracy, and ease of use.
All of this technology is readily available and using the right combination can dramatically reduce ongoing costs. Proactive maintenance is key to lowering unexpected damage and breakdown. If you add AI and the advantages of predictive machine learning into the mix, these risks are further reduced.
At Nexxis, we actively work with our clients to determine the combination of NDT methods that best suit their needs. This innovative, solutions-based approach allows for dynamic procurement of testing equipment, including the latest robots, inspection cameras and NDT tooling.
Discover more about us and how our refreshing method of equipment provision is helping our clients improve productivity and positively impact their bottom line.
Contact us to find out more about the latest inspection cameras or any of our other NDT tooling, or request a quote online.
If you found this interesting you might also enjoy our Case Study- Welds Defect Measurement and Inspection Done a Different Way
