Case Study – Measurement Of Internal Weld Profile On CRA Clad Pipe Using A Borescope

Nexxis was approached to assist in measuring the internal weld section of a subsea pipeline being fabricated in a workshop. The challenge involved measuring welds that were approximately 2-30 meters deep from the entry point or pipe end. To address this, Nexxis proposed using advanced video borescopes with optical measurement or laser scanning as a solution. .
The project involved welding a section of CRA (corrosion-resistant alloy) clad pipe. The end user required precise measurements of the internal weld height and detection of defects such as undercut. The tolerance for these measurements was set at 0.1mm depth and length with a critical requirement for subsea installation.
Method of measurement:
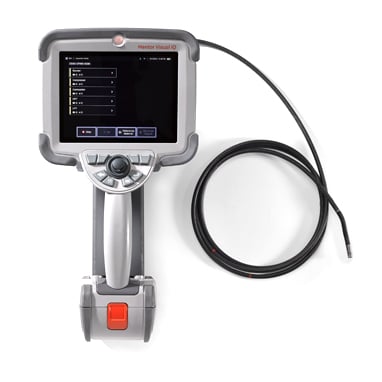
Considering the size of the pipe and the critical nature of the measurements, Nexxis used an advanced measurement borescope. Originally designed for internal inspections of jet engines in the aviation industry, this borescope proved to be well-suited for the task and capable of meeting the specified requirements.
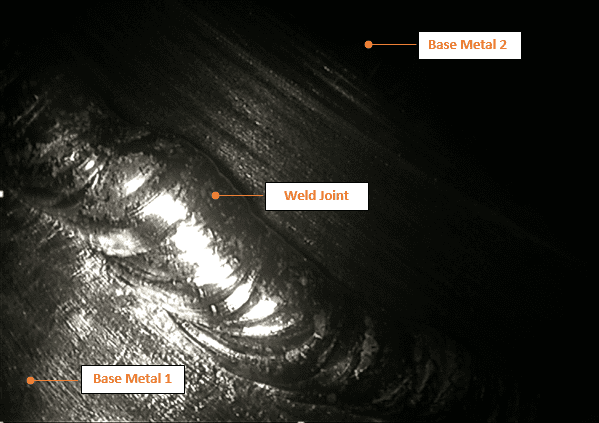
The section of weld that is to be measured is shown below.
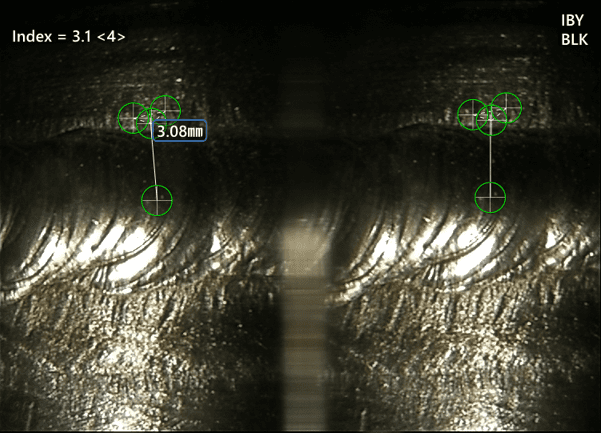
To measure the weld, the borescope captures images of the section to be inspected. The Stereo option of the borescope allows for measurements to be taken alongside the weld profile. By utilizing the ‘Depth’ option, a triangulation is created adjacent to the weld profile, enabling precise scanning of the desired inspection points.
Creating this triangulation near the weld profile helps minimize variations and ensures consistent results. Although some initial challenges were encountered, following basic protocols allowed for consistent values to be obtained at different points along the weld.
In addition to the Stereo option, measurements were also conducted using the 3D Phase Measurement option. The results obtained from this technique further validated the accuracy of the measurements.
Conclusion:
Nexxis successfully utilized advanced Borescopes to provide accurate measurements in a location where manual measurement was practically unfeasible. By implementing this technology, the inspection lead time was significantly reduced compared to manual inspection methods. The borescope’s ability to articulate the probe enabled the measurements to be performed in a single operation.


