RVI: 3D Phase Measurement

One of the challenges of RVI inspection using a Video Borescope is being able to accurately assess the depth and seriousness of cracks or anomalies without using alternate equipment or replacing camera heads.
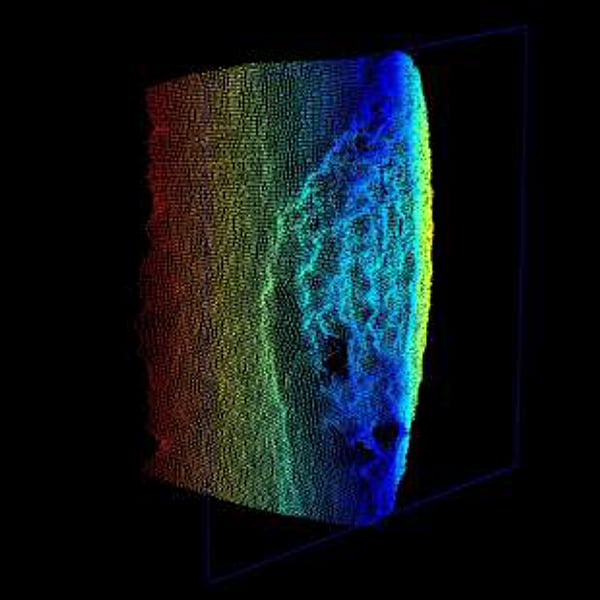
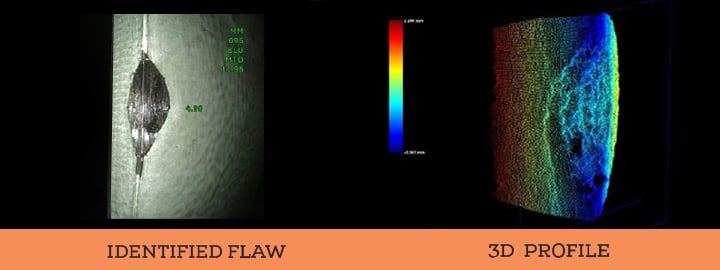
Recent advances in 3D phase measurement technology however, have made this issue a thing of the past. The 3D surface scanning feature in the Mentor IQ for instance, allows the user to visually inspect and create a 3D image – without removing the device or changing heads.
Unlike comparison, stereo or shadow measurement systems that operate on a point-by-point basis, 3D Phase Measurement processes the image data to generate a full 3D map of the viewed surface before beginning the measurement process itself.
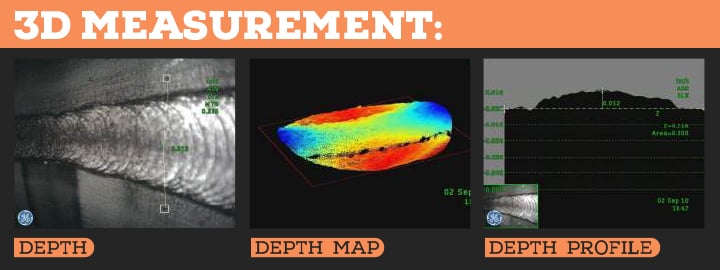
With a variety of 3D Measurement options available (Length, Multi-Segment Length, Area, Point-to-Line, Depth and Depth Profile) – the user is able to accurately assess for multiple applications.
Whether it’s turbine blade clearance, weld structure or defect measurement, the ability of devices like the Mentor IQ to visually inspect and provide 3D mapping of difficult to access spaces or components, allows an incredibly effective and reliable means of maintaining and assessing the integrity of assets.
For a breakdown of the different types of 3D measurement, tune in to our blog next week.


