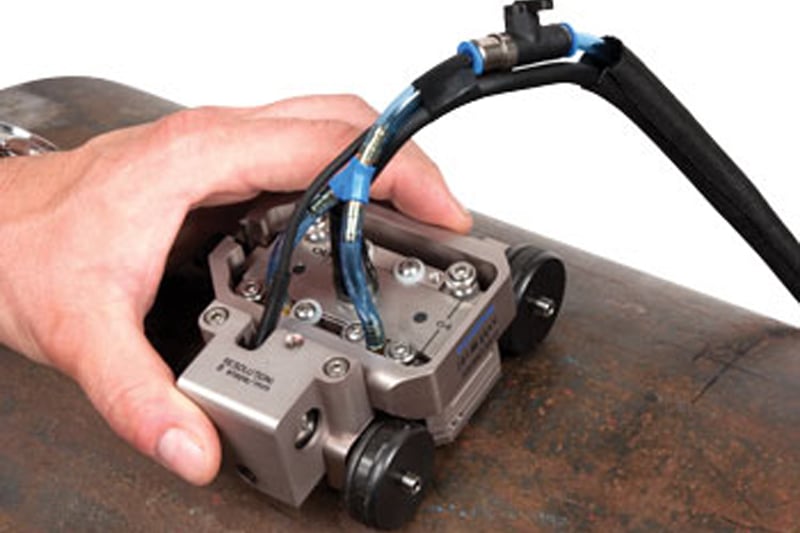
Non Destructive Testing – How To Choose The Right Method for the Job

Non Destructive Testing (NDT) covers a huge array of techniques used for detecting and evaluating flaws in materials and objects without damaging the material that is being tested. It’s used across a variety of industries and applications, notably where equipment or component failure could impact negatively on costs, safety and performance.
Each method has advantages and disadvantages and some will be ideal for certain applications but of little or no value in another situation – so it is important to choose the NDT method that is right for the job.
The following table provides a brief summary of the most commonly used techniques, their main uses and the advantages and disadvantages of each method – and technicians and engineers may find this information helpful when deciding which method is most suitable for a particular application.
| METHOD | MAIN USES | ADVANTAGES | DISADVANTAGES | ||
| Visual Testing |
In-service inspections
|
Minimal training required Immediate results Portable |
Limited scope of testing Restricted to observing and identifying obvious visible surface discontinuities, which are generally larger in size Requires adequate illumination of the test surface |
||
| Liquid Penetrant testing (PT) | Used to locate cracks, surface defects, porosity over large surface areas that may not otherwise be visible. |
Portable Minimal equipment investment Simple and accurate Rapid testing Immediate results Can test large surface areas/volumes and complex parts |
Needs cleaning afterwards Chemical handling required Only locates surface defects Relies on visual detection Only works on smooth surfaces
|
||
| Eddy Current testing |
Detects surface and near-surface flaws such as cracks in conductive materials Also used to differentiate materials based on their conductivity and magnetic permeability Measures thickness of steels Detects corrosion Used on vessels, storage tanks, piping systems and columns etc and for tube and wire testing
|
Portable Minimum preparation Immediate results Highly sensitive Can be used for a number of industry applications, not just flaw detection eg the rapid sorting of small components for flaws, size variations or material variation
|
Equipment relatively expensive Requires more skills and training than other methods Rough surfaces may interfere with test Only works on conductive materials Limited penetration depth
|
||
|
Ultrasonic testing (UT) |
Measures changes in material thickness and changes in material properties Locates surface and sub-surface flaws |
Superior depth penetration Tests more than just flaws Portable Cost-effective Fast results Suitable for wide range of materials/thicknesses including metals, plastics and wood Superior depth of penetration Only requires single-side access |
Requires highly skilled technician Surfaces have to be accessible Surface finish can affect inspection May miss linear defects which are parallel to the sound beam |
||
| Magnetic Particle Testing | Detects surface and near-surface flaws in ferromagnetic materials |
Relative low cost of equipment Limited skills required Enables rapid inspection of large surface areas and/or complex parts Sensitive to small discontinuities Less surface preparation required than for liquid penetrant testing Highly visible indications
|
Can only be used on ferromagnetic materials (ie those that can be magnetised) Some site preparation required and parts must be cleaned and demagnetised afterwards Relatively smooth surface required Surfaces must be accessible Results can be affected by non magnetic coverings, eg paint
|
||
| Radiographic testing (X-ray) |
Used to detect flaws in virtually any material (surface, sub-surface and internal) Also used to measure material thickness |
Minimal preparation required Suitable for just about any material Can locate and measure hidden, internal features or parts No disassembly required when inspecting multi-layered and complex structures |
Relatively high financial investment Requires high degree of operator training, skill and experience Radiation hazard Usually requires access to both sides of the structure
|
||
| Isotope Radiography | Detecting surface and internal/hidden flaws |
Portable Cheaper than X-ray equipment Suitable for inspecting hidden areas Minimal site preparation
|
Safety hazard Requires highly skilled operator Sensitive to flaw orientation so operator experience is vital for correct interpretation of results |
This table is not intended to be prescriptive nor exhaustive and given that NDT plays such a crucial role in ensuring that structural and mechanical components perform their function in a safe, reliable, and cost-effective way, it’s imperative to make the right choice of testing method for a particular application.
If you would like advice from an experienced professional about which NDT method will best meet your needs, you should give Nexxis a call. They are a leading Australian supplier of technical equipment and have an extensive range of NDT tools for purchase or rent, plus they can customise a solution that will fulfil your requirements. Call them on or visit their website, nexxis.com for more information.
